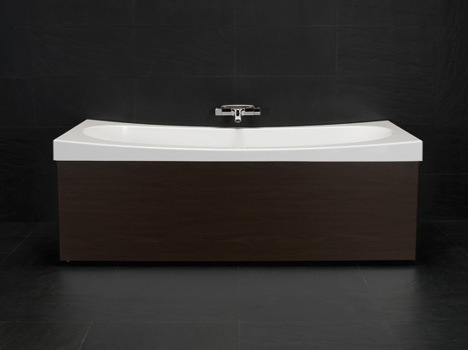
If you’ve decided on replacing an existing tub, and have ruled out other options like re-glazing or adding a new bathtub liner- where both these options make use of the existing walls and plumbing, and they don\’t require that you physically remove the old tub – then make sure you get adequate advise and guidance if you choose to undertake this step yourself. Installing a bathtub requires advanced plumbing and construction skills as well as some heavy lifting.
Removing the Old Tub
- A tub is most likely placed between two walls, with the faucets and shower head on one of these walls. If the bathtub is freestanding, where you have open access to the pipes and fittings then removing it is just matter of disconnecting the piping and lifting the tub out. If the tub is between walls, disconnect the piping (or remove the back wall) and pull the tub straight out.
- Turn off the water supply
- Expose the piping in the gypsum wallboard on the backside of the fixture wall of the bathtub. Try to minimize the amount of wall board you will need to replace when exposing the piping.
- Disconnect the tub drain using a large adjustable wrench or Channel-lock pliers. Remove the tub drain strainer which released the drain pipe below it.
- Remove the hot and cold water supply. Remove the wall covering (such as tile) from around the tub. This will expose the clips holding the tub in place. These fasteners will be attached to a ledger strip around the tub. Remove or disengage the fasteners.
- With a prybar and a piece of scrap wood to protect the wall (if needed), gently pry the tub away from the wall. Go completely around the tub.
- Remove the tub out. Put down two or three 1 x 4 skids or a piece of plywood so the tub won\’t damage the floor as it is moved out and so the tub is easier to slide. Engage help as the tub will be heavy, do not try doing it alone.

Installing a New Bath Tub
- Move the tub into place so that the continuous flange fits against the wall studs and rest on 1 x 4 or 2 x 4 supports. Frame the walls so that the bathtub just fits into the alcove, leaving a gap of 1/8 inch around the edge.
- Install the rough-in plumbing supply lines for the faucet, risers and showerhead. Hot and cold water lines are run to the tub/shower mixing valve where they are attached, directly into the hot and cold ports of the mixing valve. Install a pipe up the wall for the shower head. At the top end of this pipe, install a brass female threaded winged fitting that is nailed or screwed into a framing support. Extend a piece of ½ inch pipe for the tub spout. Sweat on a male threaded fitting at the end of the pipe or use a brass nipple of the proper length and a ½ inch cap.
- Have your work inspected.
- Slide the tub into place and check for level. Use plastic shims to level the tub (wooden ones are more likely to rot over time). After the tub is level, mark the top of the tub\’s nailing flange on the studs.
- Determine the positioning of the ledger boards. These boards will attach directly to the wall studs underneath the lip of the tub and help to support it
- Install the P-trap and drainpipe so that the top of the P-trap is level with the floor and will be centered underneath the drainpipe from the tub.
- Assemble the drain pipe and overflow pipes and dry fit them to the tub so you can measure the required length to attach the drainpipe to the P-trap. After measuring, cut them to fit and attach them to the tub. The drainpipe from the tub should slide into the P-trap.
- Install the ledger boards on the previously determined markings. Fasten the tub in position by nailing through the flanges with galvanized nails. Slide the tub into place and set it on the ledgers. The drainpipe from the tub should slide into the P-trap.
- Insert the drain plug assembly through the overflow opening, then attach the cover plate for the overflow.
- Turn on the water and test your plumbing and drainage systems for leaks.
- Finish the walls and install the showerhead, faucet handles and tub spout.

